

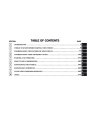


260
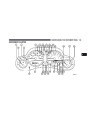
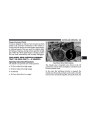
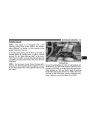
UNDERSTANDING YOUR INSTRUMENT PANEL
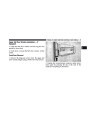
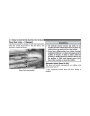
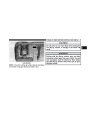
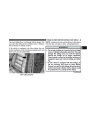
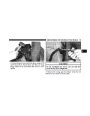
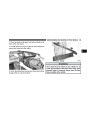
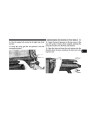
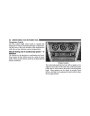
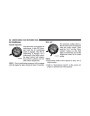
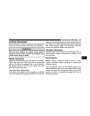
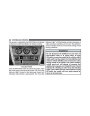
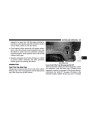
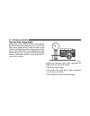
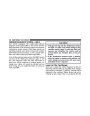
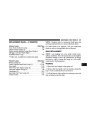
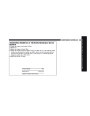
SETUP Button
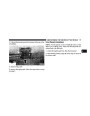
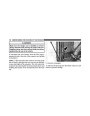
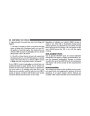
You may add a second channel to each pushbu tton by
Pressing the SETUP button allow s you to select the rep eating the above proced ure with this excep tion: Press
follow ing item s:
the SET button twice and SET 2 will show in the display
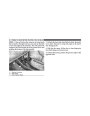
wind ow. Each button can be set for SET 1 and SET 2. This
allow s a total of 12 Satellite channels to be stored into
pushbu tton memory. The channels stored in SET 2
memory can be selected by pressing the pushbu tton
twice.
•
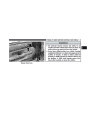
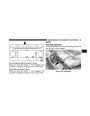
Disp lay Sirius ID nu mber — Press the AUDIO/
SELECT button to display the Sirius ID nu mber. This
nu mber is used to activate, deactivate, or change the
Sirius subscrip tion.
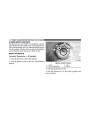
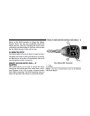
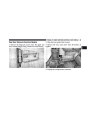
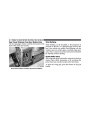
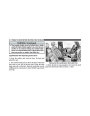
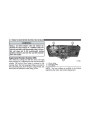
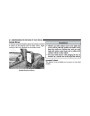
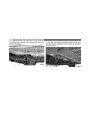
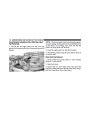
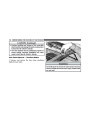
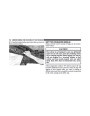
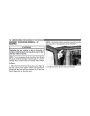
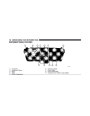
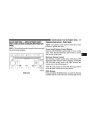
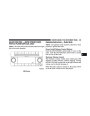
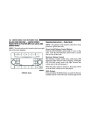
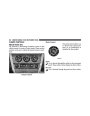
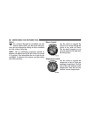
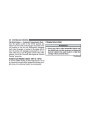
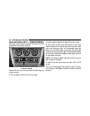
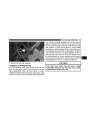
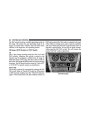
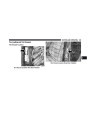
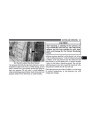
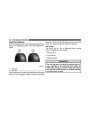
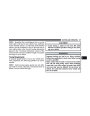
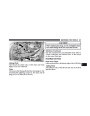
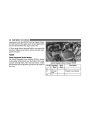
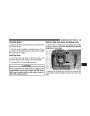
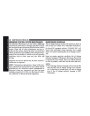
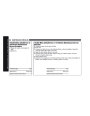
SET Button – To Set the Pushbutton Memory
When you are receiving a channel that you wish to
commit to pushbu tton memory, press the SET button.
Every time a preset button is used , a corresp ond ing
button nu mber will display.
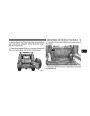
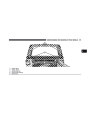
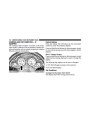
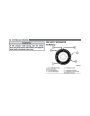
The sym bol SET 1 will now show in the display wind ow. Button s 1 - 6
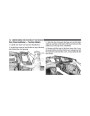
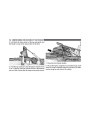
Select the button (1-6) you wish to lock onto this channel These buttons tune the rad io to the channels that you
and press and release that button. If a button is not commit to pushbu tton memory (12 Satellite stations).
selected within five second s after pressing the SET but-
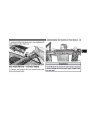
Operating Instructions — uconnectா phone (If
ton, the channel will continu e to play but will not be
Equipped)
stored into pushbu tton memory.
Refer to “uconnect phone” in Section 3.
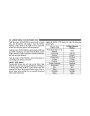
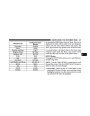
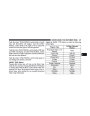
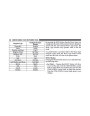
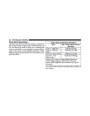
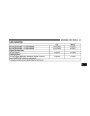
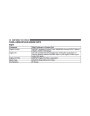
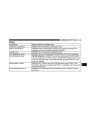
| Categories | Jeep Manuals, Jeep Wrangler Manuals |
|---|---|
| Model Year | 2009 |
| Download File |
|
| Document File Type | |
| Copyright | Attribution Non-commercial |
(0 votes, average: 0 out of 5)